Ok, by now you’ve probably realized I have a sweet tooth.
Truthfully, I’ve always been this way. Despite growing up in a household that ate pretty healthy most of the time, I was always trying to sneak something sweet. When I was little, we didn’t keep a lot of sweets around (or maybe they were just hidden from me), so I’d scavenge the cupboards and sneak bowls of sprinkles, sweetened shredded coconut, or whatever else sweet I could find that had even a hint of sugar.
And of course, when you’re a kid, or at least when you’re a fairly active kid, a little extra sugar here and there really doesn’t make a difference. It (usually) doesn’t screw with your energy levels, and doesn’t tend to cause weight gain as long as you’re active and bouncing around all the time like I was.
But once you reach adulthood? Yeah, the sweets you eat start to show.
There was a time in my life when I got so depressed because I thought I’d have to give up all sweets in order to be healthy. Cookies. Cakes. Ice cream. Chocolate. Mmmmm.
And for a couple of years, I decided, screw it, I’m not going to eat only salads and be hungry all the time and deprive myself of all the things that give me enjoyment in life. So I ate. And ate.
I remember in college buying bags of sweet things—ginger molasses cookies (those ones from Trader Joe’s? Soo good), ice cream, M&Ms, whatever—I’d eat it all. I’d gorge myself on the stuff. And naturally, I’d feel sick as hell afterwards, and terrible about myself, and so I’d eat some more. It was a vicious cycle.
Anyway, luckily, I was able to get past those days of stuffing myself with bad foods and learned to savor and enjoy my treats rather than mindlessly stuffing them into my mouth. But it was only about a year or two ago that I discovered that foods that taste good don’t always have to be bad for you.
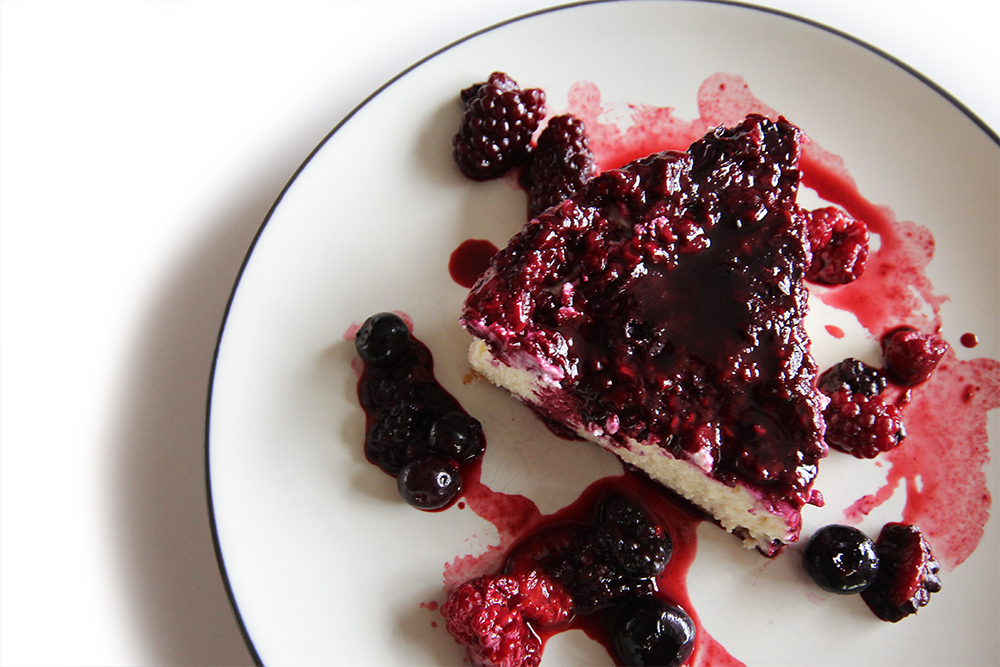
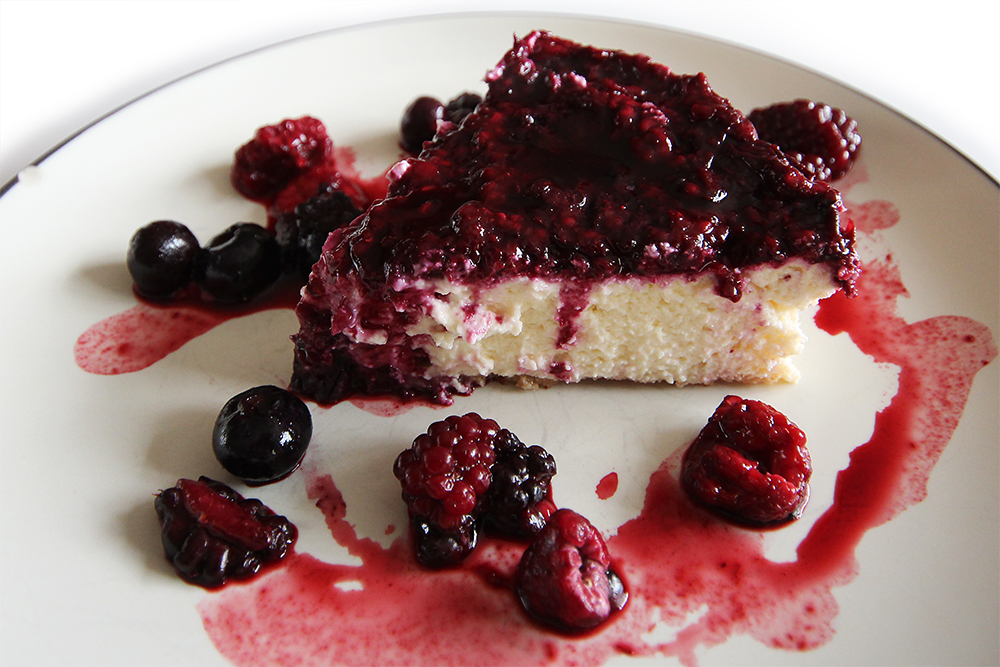
Take this cheesecake, for example. It’s full of protein, and healthy fats, and antioxidant-rich berries. Although I do add a little maple syrup, you can make it totally sweetener-free and it will still taste good. Really, I just ate a piece, and it was magnificent. The texture was amazing, it was a little tart, and the berries were just… perfection.
And really, if you gave me a choice between this and a “real” cheesecake? I’d take this berry protein cheesecake any day. Not only did it 100% satisfy my sweet tooth, it saved me about 500 calories (seriously) and lots of unnecessary fat and added sugar. Plus, it’s totally easy to make!
This one’s a keeper, trust me!
Here’s how to make this heavenly berry protein cheesecake:
Ingredients for the crust:
1/2 cup almond meal (or ground almonds)
1 1/2 Tbsp almond butter
Ingredients for the filling:
1 cup low fat greek yogurt
1 cup low fat cottage cheese
1/4 cup vanilla whey protein powder
1 egg white + 1 whole egg (2 egg whites or 2 eggs would work too)
2 Tbsp coconut flour (this helps to give it a nice consistency)
Ingredients for the topping:
1-2 cups frozen berries (I used the Costco three berry mix because it’s awesome and cheap!)
1-3 Tbsp maple syrup (depending on how sweet you like it, other sweeteners will work too)
1-2 Tbsp water
Directions:
Heat your oven to 325 degrees Fahrenheit. While the oven is getting warm, mix together the crust in a small or medium-sized bowl. If it seems a tiny bit dry, add a little bit of almond milk (or other milk) until it’s crumbly but sticks together.
Spread the mixture evenly on the bottom of a springform pan (I used a 7” one).
Next, mix together all the ingredients for the filling in a separate bowl and blend thoroughly until all the cottage cheese chunks are gone. Pour this on top of the crust, pop it into the oven, and cook for about 35 minutes. The key here is to not overcook the cheesecake—you want to remove it from the oven while the center is still a little jiggly. After this, you’ll want to let it cool.
Once the cheesecake is cooled, you can put together the topping. Obviously, you can substitute with chocolate sauce or whatever topping you want, but berries really enhance the flavor of the cheesecake so I highly recommend them. Place the berries, sweetener, and water in a saucepan and cook over medium heat.
 You’ll want to get it up to boiling and keep stirring until the sauce is thick and yummy looking. If there are berry chunks remaining, you can squish them with a spoon or a potato masher to get a more saucy sauce.
Once the sauce looks good, remove it from the heat and let it cool.
Once everything is cooled, go ahead and spread the berry sauce on the cheesecake. Ideally you’ll refrigerate it for a couple of hours or more before eating it since cheesecake really is better cold, but if you want to speed up the process you can try putting it in the freezer for a half an hour or so.
Serve cold and enjoy every bite!


Macros (per 1/6 cheesecake):
Calories: 200
Protein: 15g
Carbs: 15g
Fat: 9g
If you want to make it a bit less calories, you could leave the almond butter out of the crust or just omit the crust altogether. Here are the macros for a crustless version:
Calories: 90
Protein: 11g
Carbs: 4.5g
Fat: 3g


No comments yet.